
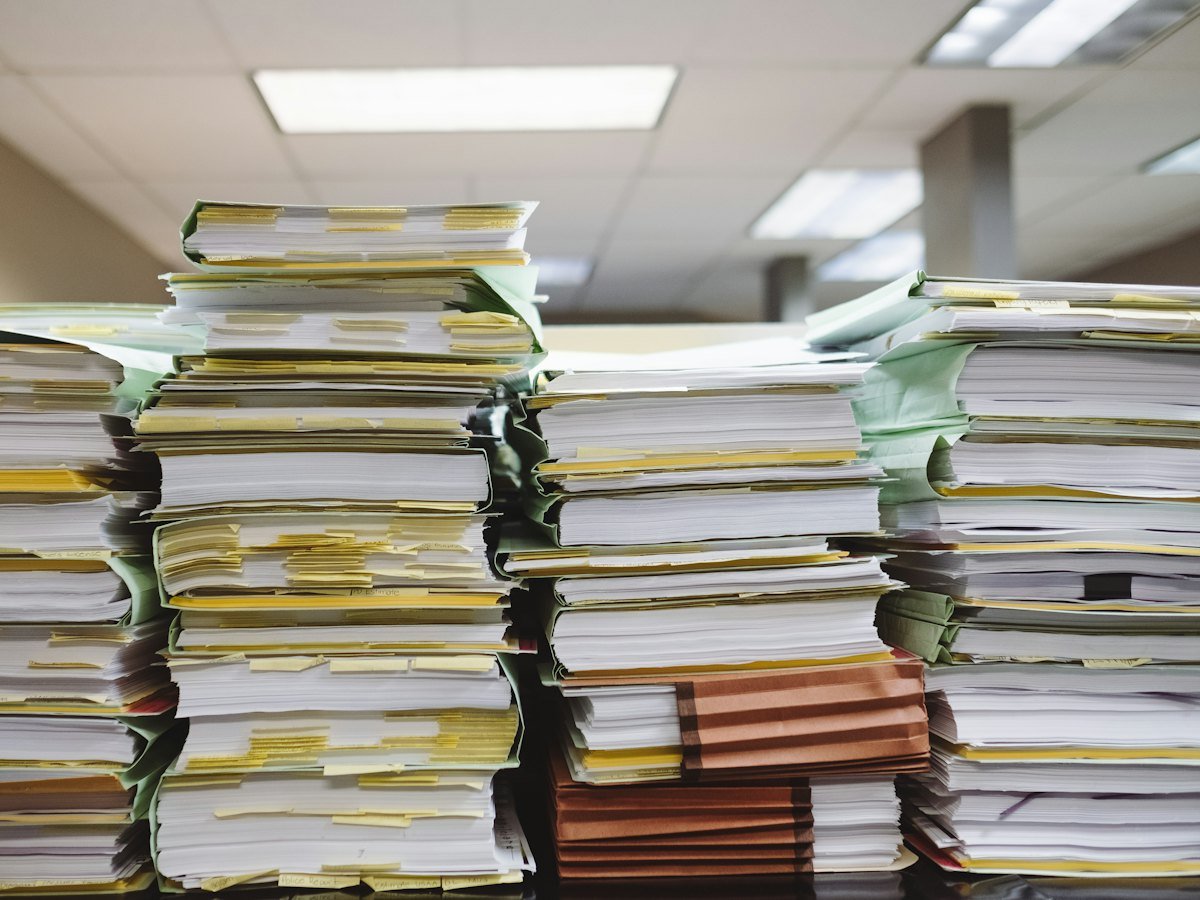
Many offices in Pakistan want to go paperless, and government departments have been moving files online too. But digitization goes wrong when it starts with a scanner instead of a plan. These steps help you end up with records your team can actually find and trust.
Step 1: Decide what to digitize
Not every paper deserves scanning. Start with records your team opens often, records you must keep for years, and records that would be hard to replace after a fire or flood. Old drafts and duplicate copies may be better reviewed for disposal instead.
Step 2: Agree how people will search
Before scanning, ask the people who use the files how they look for them. HR searches by employee number, legal teams by case number, finance by vendor and date. These answers become your index fields and file naming rules.
Step 3: Prepare the files
- Remove staples, pins and fasteners.
- Flatten folded pages and repair torn ones.
- Put pages in order and add separator sheets between documents.
- Note fragile or oversized pages so they get special handling.
Step 4: Scan to an agreed standard
Agree resolution, colour and file format before the first box is scanned. For most offices, searchable PDF works well. Use colour where stamps, signatures or photographs matter.
Step 5: Run OCR and index
OCR makes every word in a scanned page searchable. Indexing adds the fields from Step 2. Together they mean anyone with access can find a document in seconds instead of searching cabinets. Read how OCR works.
Step 6: Check quality
Check page counts against the originals, look for skewed or missing pages, and test searches with real questions. A small sample check on every batch catches problems early.
Step 7: Store the files where people can use them
A shared folder full of PDFs is a start, but a document management system adds access control, approval workflows and retention rules. It is what turns scans into a working archive.
Step 8: Decide what happens to the paper
Some originals must be kept. Others can be destroyed once your retention rules and any legal requirements allow it. Never destroy originals just because a scan exists. See scan first, destroy later.
Do it yourself or use a scanning service?
A few hundred pages can be scanned in-house. Thousands of pages, fragile records or tight deadlines are usually faster and safer with a scanning company that brings trained staff, production scanners and quality checks. For confidential files, on-site scanning keeps the paper inside your building.
Common mistakes to avoid
- Scanning without naming rules: thousands of files called "scan001.pdf" are almost as hard to search as paper.
- Skipping quality checks: a missing page found two years later is a serious problem.
- Destroying originals too early: always follow your retention rules first.
- Storing scans on one laptop: keep them in a backed-up, access-controlled system.
- Trying to do everything at once: start with one department and learn from it.
A simple project timeline
- Week 1: survey the records, count pages, agree index fields and output format.
- Week 2: scan a pilot batch and check it with the people who will use it.
- Following weeks: scan in batches, with quality checks on every batch.
- Final step: upload to the system, train users and decide on the paper.
The pilot batch is the most important step. It shows whether the naming and indexing really help your team before the whole archive is processed.
Learn more about records management on Wikipedia.
Frequently asked questions
How long does digitization take?
It depends on page count, condition and indexing detail. As an example, 431 confidential personnel files (16,639 pages) were scanned on-site in four working days in one of our projects.
Can scanned documents replace originals?
For many working purposes yes, but some records must still be kept in original form. Check with your legal or compliance advisers before destroying anything.
Ready to start? Our document scanning and digitization service covers preparation, scanning, OCR, indexing and upload to your system.